Building Kernels in WSL
I have always wanted to build the Linux kernel myself, and a good starting point always seemed to be the Android Kernel. It’s much easier to test out and you can’t really mess all that much up on your phone (also if you do, it’s easier to fix your phone with a working computer than fixing your computer with another one available).
WSL - Bash, now on Windows
Now, I am a Windows user. Yes, I know that’s not a very common OS to use for most developers, but it is what it is. I get to use a lot of software that I need for my music stuff without having to switch back to Windows from a Linux distro. Luckily, Microsoft has been working on something called Windows Subsystem for Linux (WSL) for quite some time now, and I think it really has matured into something that can be used for almost all of my daily tasks.
I won’t go into too much detail about what WSL is in this post, but in short, it is Linux running inside Windows. But, unlike a VM, the resource sharing and allocation is much better. Windows dynamically manages resources between WSL and itself, thus giving amazing performance even for intensive workloads.
If you want to build a kernel using WSL too, you are going to want to use WSL2 specifically. WSL2 has a proper Linux Kernel running inside Windows, thus allowing you to actually successfully build Linux.
Building a Kernel
Now this isn’t my first time trying to build a kernel. I did attempt this back in 2018, but I wasn’t as experienced with development and working around with already existing codebases. So, two years later, I decided to give it another shot.
I have a OnePlus 5 as my daily driver. It’s got great community support for custom ROMs and Kernels so it was the perfect phone to start building kernels for. So I began by downloading the source code. I began with OnePlus’ OxygenOS kernel sources for my device, the msm-8998.
A fun tip that I helps with the huge Git repo sizes: Shallow clone the repos. Since I was just building for the first time, I didn’t really need all of the commit history. Of course, as a proper kernel dev / maintainer you’d probably want to clone it the normal way.
The first guide that I stumbled upon was pretty old. But I figured that it should still work. I downloaded a gcc toolchain and began building the source without any modifications at first. It wasn’t a surprise when I ran into what I would say were a bajellion different problems.
The OxygenOS sources didn’t seem to have a defconfig file needed to build the kernel and my gcc toolchain wouldn’t work either.
Clang and Paranoid Android
On looking up for updated guides, I found Nathan Chance’s Compiling an Android kernel with Clang. I think it is the best guide on how to build kernels for Android. I also learnt that Google now builds the Android kernel with Clang and that gcc is deprecated. I used proton-clang. It’s a good set of prebuilt binaries needed for building the kernel.
Also, since the OxygenOS sources seemed to have problems, I switched over to Paranoid Android‘s sources for my device. These were updated quite recently, so I was positive that they would work.
Don’t Panic
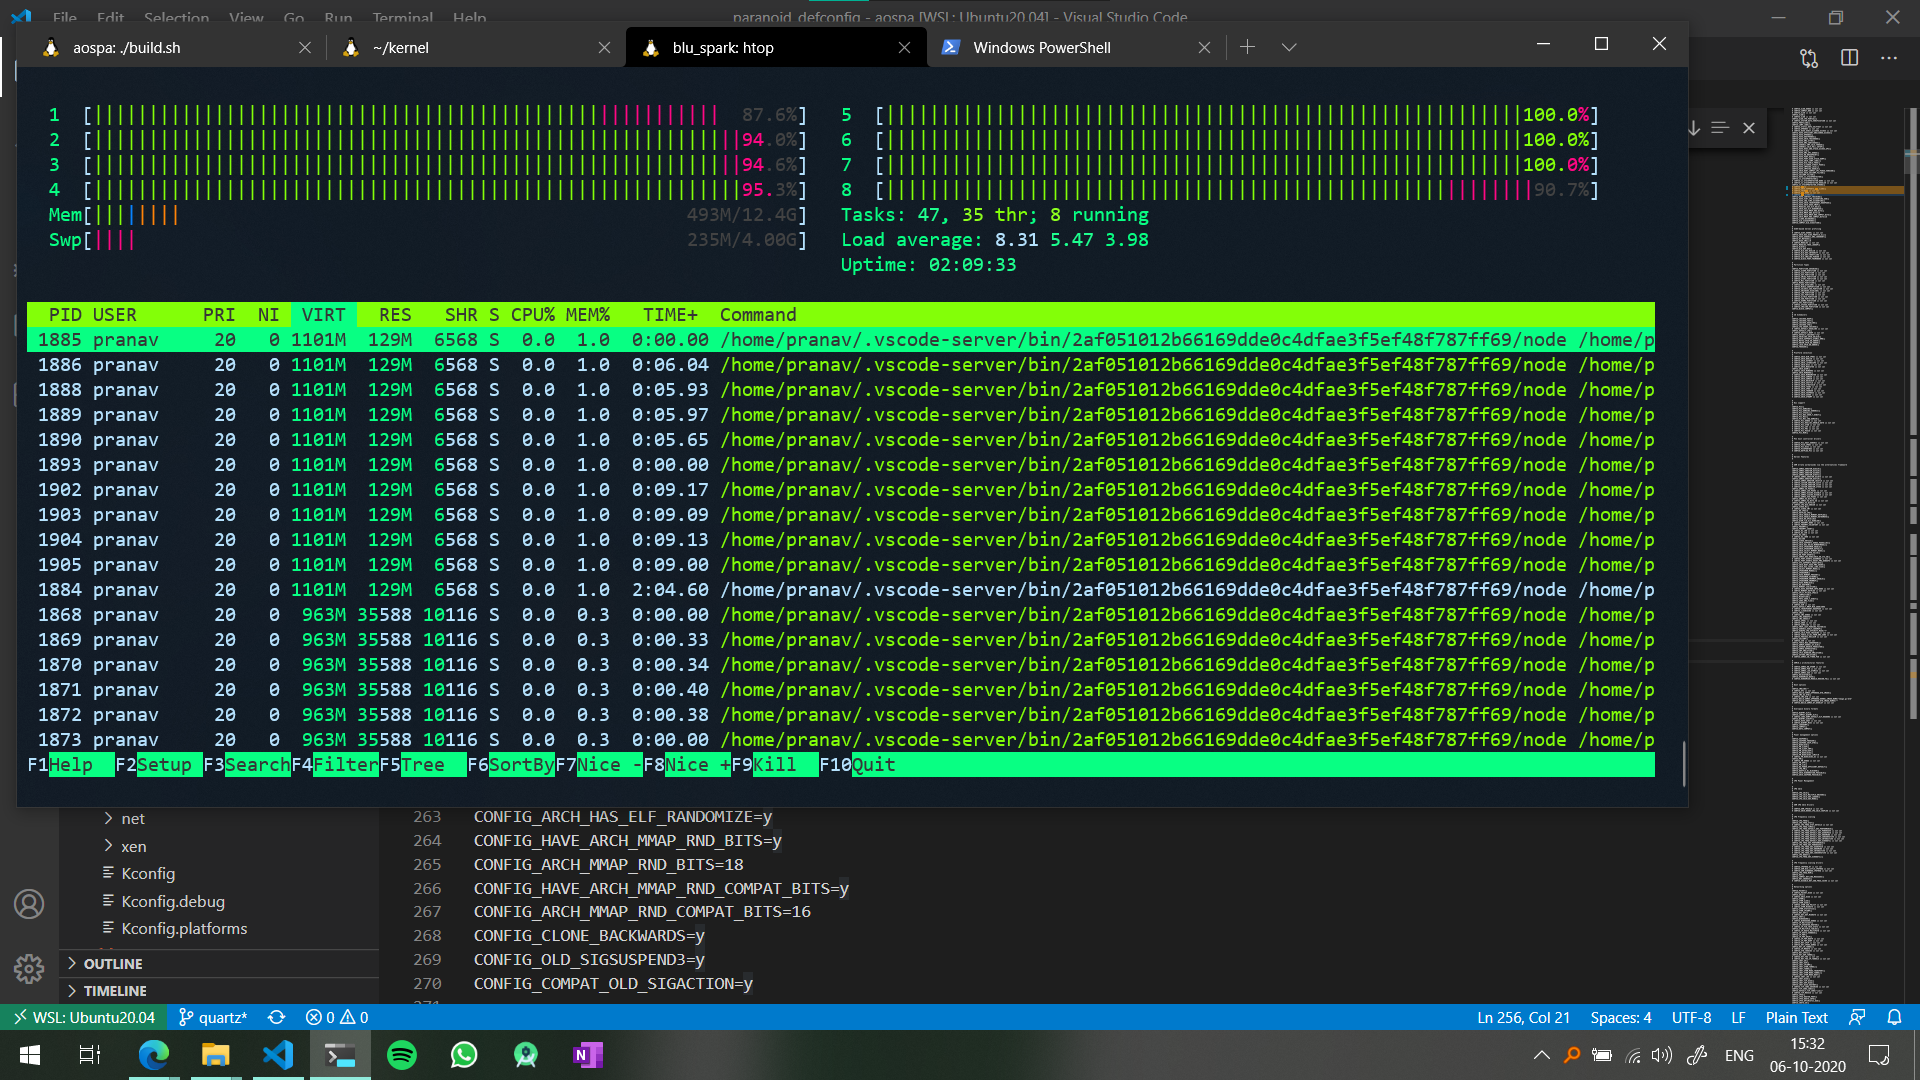
Okay, so all seems good to go! I followed Nathan’s build instructions and wrote a small build script for this. And now comes the interesting part. I wasn’t sure about how building on WSL would affect my build duration. And to my surprise, the resource management was insane! I have a laptop with an i7 8550U and 16 GB RAM. WSL was able to make use of all those resources and was running at full power!
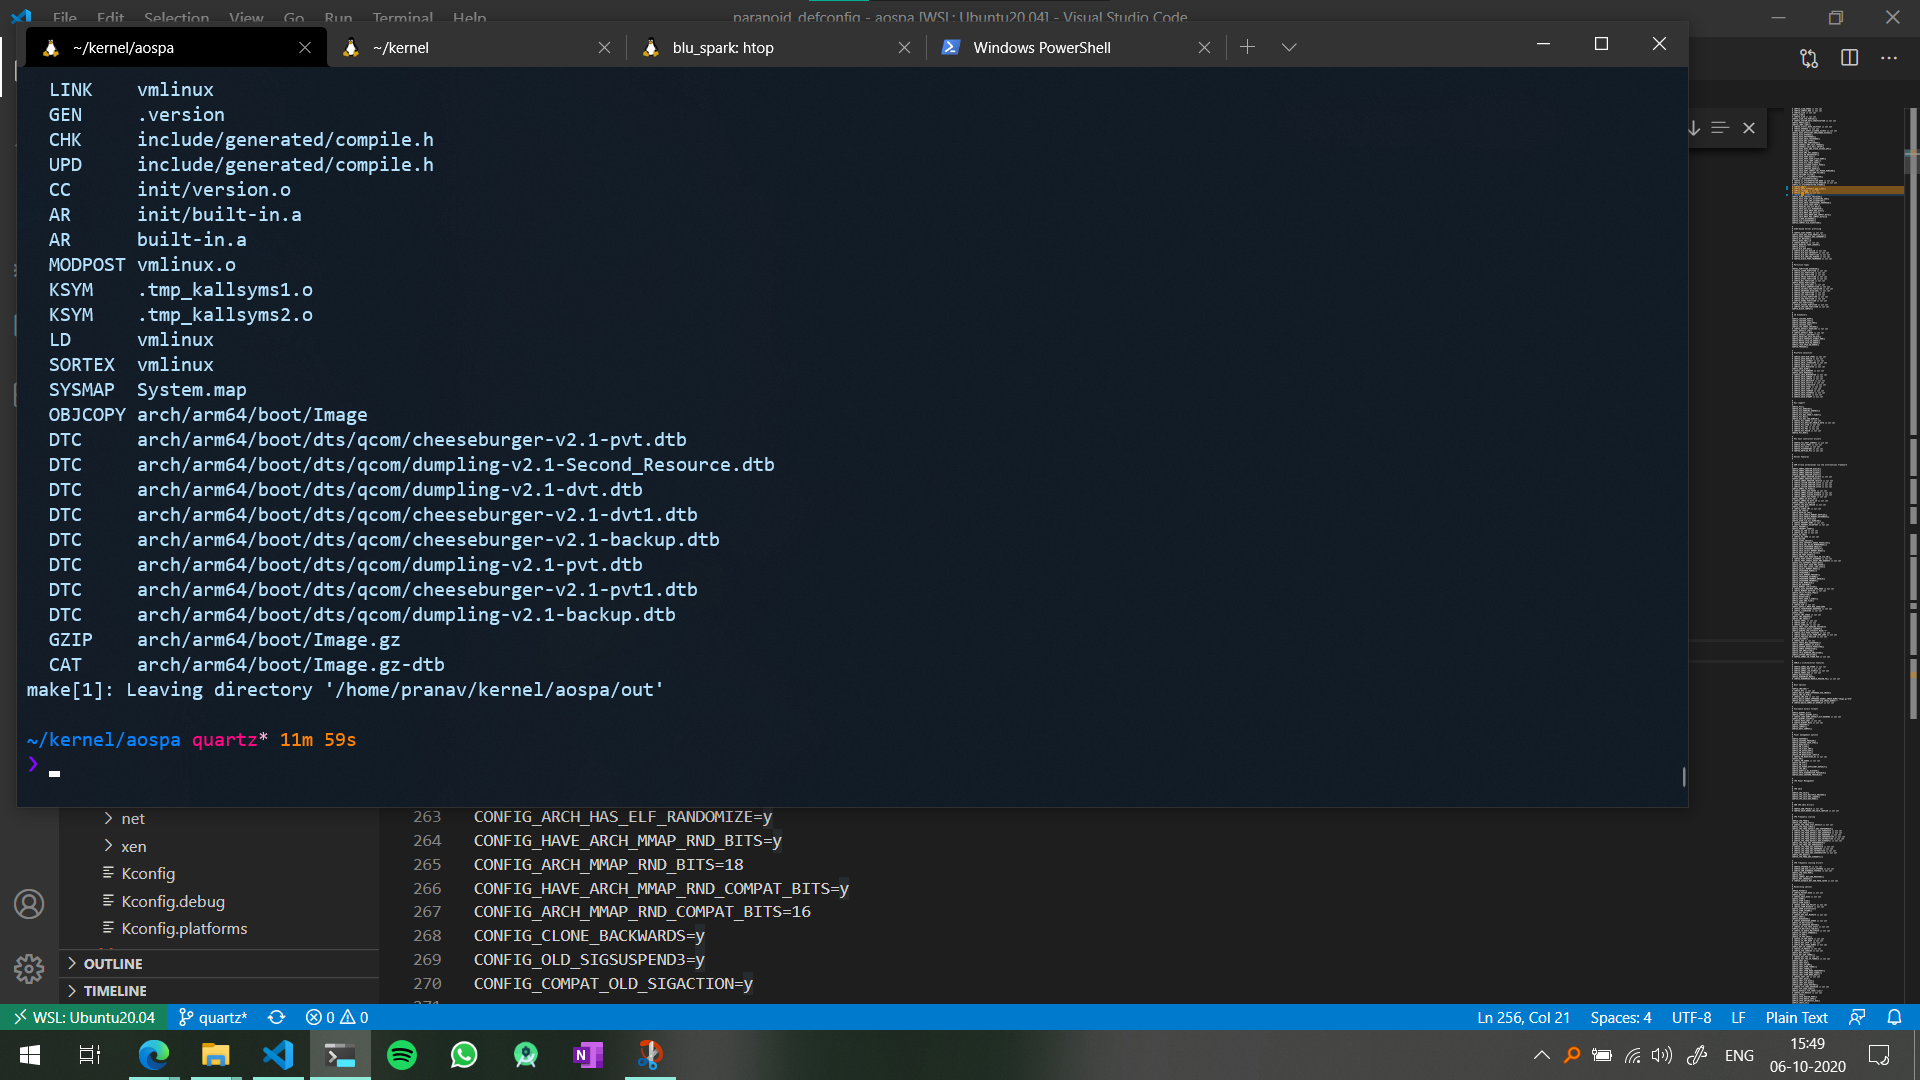
With this I got my first successful build done in just under 12 minutes. Now I haven’t really built kernels before, but I think it’s pretty a reasonable time. And throughout the build duration, Windows itself was working fine and didn’t seem to hang at all (I wasn’t running a lot of Windows specific software but still).
Packaging and Flashing
AnyKernel3 is basically the standard for making flashable kernel zips, and it’s pretty easy to use as well.
- Just download the zip and unzip it.
- Copy your from Image.gz-dtb file (from
/out/arch/arm64/boot/Image.gz-dtb) to the extracted folder. - Edit you the flash script to mention your device’s name and codename so that you don’t run into compatibility errors while flashing
zip -r9 AnyKernel3.zip * -x .git- Flash away!
So, you do need a device with an unlocked bootloader and a custom recovery like TWRP. My kernel flashed and booted up without any errors, and it seemed a little smoother too!
I did notice that the default governor was set to performance and changed it to schedutil. Also, since I was not running AOSPA’s kernel on OxygenOS, I noticed that the offscreen gestures weren’t working. After spending a lot of time on trying to understand what was wrong, I finally found out that the file drivers/input/touchscreen/synaptics_driver_s3320.c had all the gesture definitions. These were slightly different from the ones in OxygenOS sources. So I just copied those from OxygenOS to AOSPA and after a quick rebuild, I had working off screen gestures.
If time permits, I’ll try understanding a little more about how to go about working with kernel sources. But that’s all for now!